
Business operations
What Every Service Appointment Confirmation Should Include
Give customers a clear arrival window, preparation checklist and simple way to request a change.
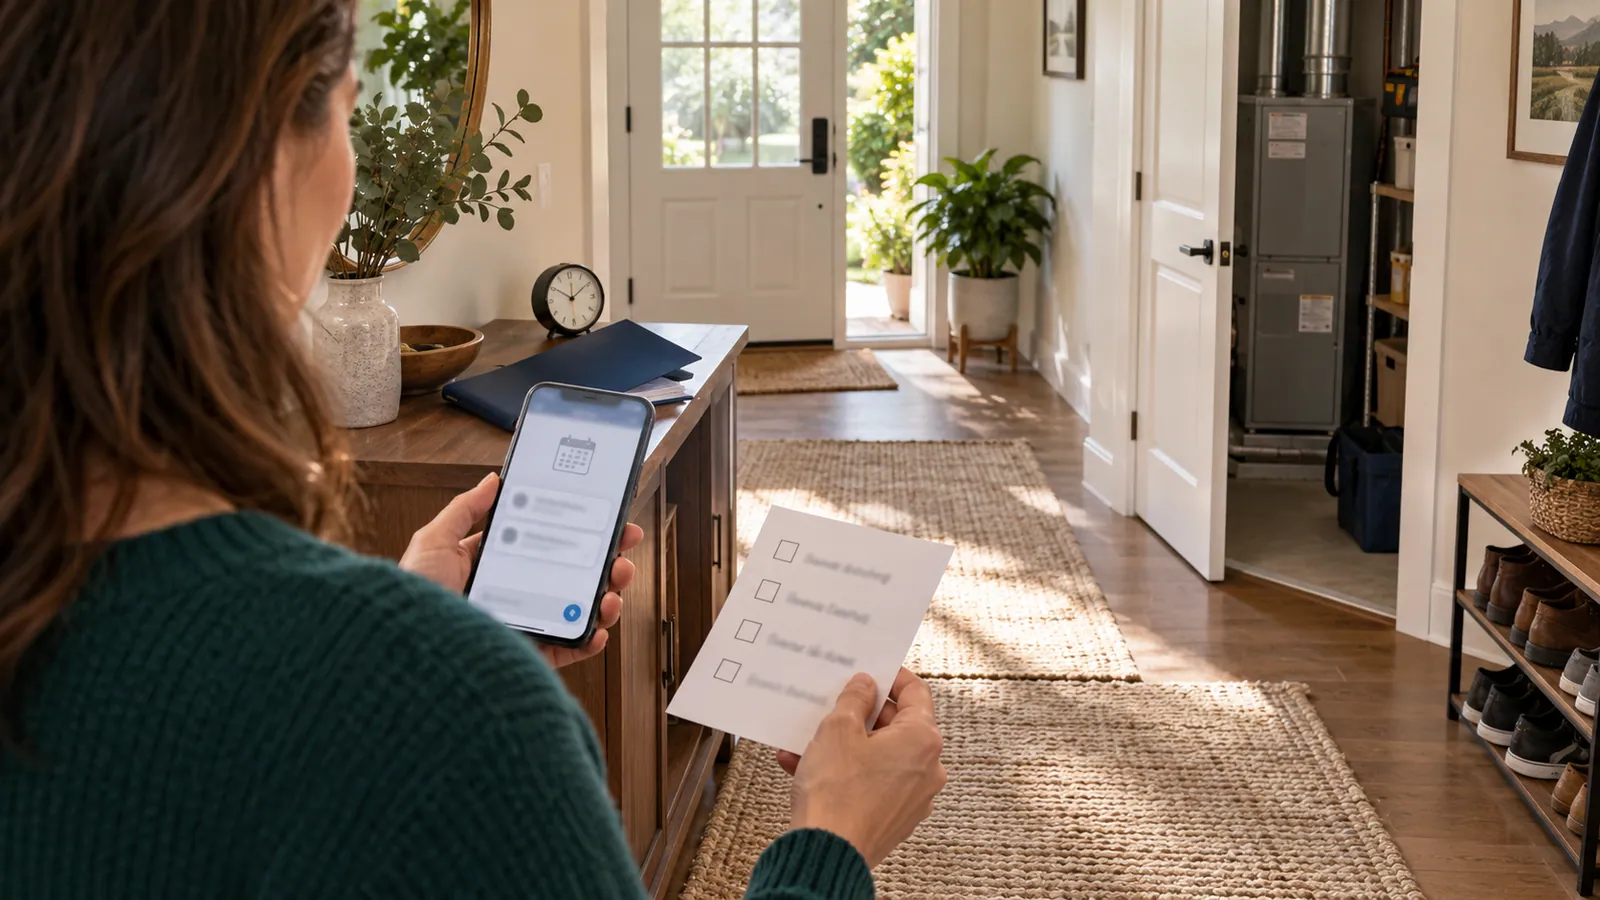
Confirm the agreement you actually have
Distinguish a requested appointment from a scheduled appointment. Send a confirmation only after the team has accepted the date, location and type of visit. Include the business name and a reference the office can find.
Use a specific arrival window and time zone where confusion is possible. Explain whether that window describes arrival or the entire visit. A two-hour arrival window is not a promise that the job will take two hours.
Use a repeatable message structure
Start with the date, arrival window and service. Follow with the address or a privacy-conscious location reference, any agreed visit fee, and the preparation that matters for this job. End with a reply or contact option for changes.
For example: “Your diagnostic visit is scheduled for Tuesday, 10 a.m.–noon. Please keep access to the equipment clear. The agreed visit fee is shown in your booking. Need to change the appointment? Reply here or call our office.” Replace every detail with the actual agreement.
Keep changes attached to the appointment
Record customer replies in the same job record. If timing changes, send a revised confirmation that clearly replaces the earlier window. Avoid leaving different dates in separate channels without explaining which one applies.
Review failed deliveries and unacknowledged changes before dispatch. Use customers' appropriate contact preferences and applicable communication requirements; an operational template does not itself establish permission to send marketing.
Keep exploring
Sources and editorial notes
Original practical checklist by Show Up Nearby. Examples are editorial recommendations; confirm job-specific conditions with the business. Sources checked September 7, 2026.
Illustrative photograph: RDNE Stock project, Pexels License. Does not identify a listed business.